
RECENT POSTS


Dead Sea Mud Soap Recipe And Soap Making Tips
Soap-making appears to be gaining in popularity. Not only are seasoned do-it-yourselfers diving into the growing trend but increasing numbers of health-conscious people in general are also now taking an interest.
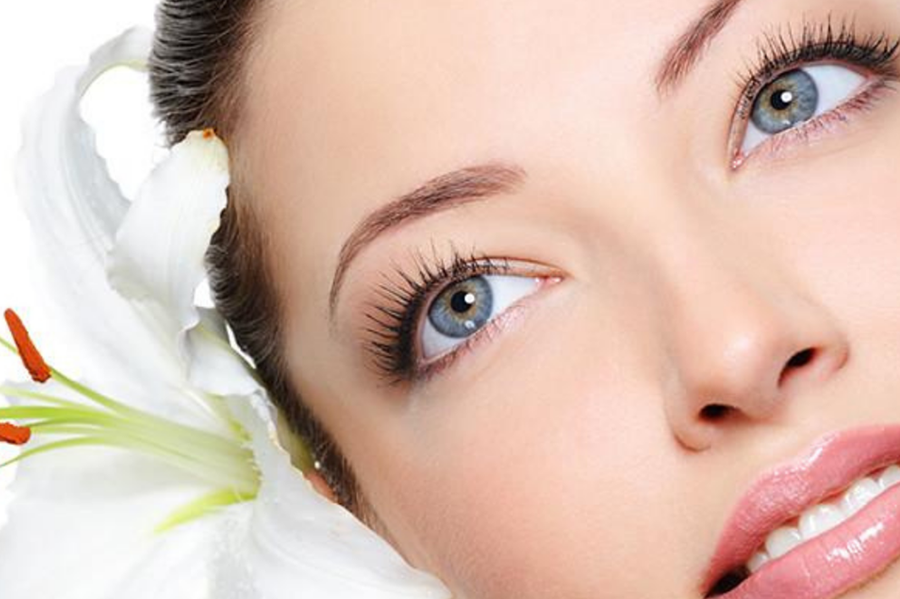
The appeal is apparent. Just think of how fun it is it to create something aesthetic and useful using your own two hands. And, in an increasingly toxic world, it’s a huge reassurance to be able to know and control exactly what goes into our skin care products. Just think about the fact that skin is the body’s largest organ; it certainly makes for a very large, not to mention very absorbent, surface area!
So, natural, hand-made soaps are not only a fun project but also a practical solution for many. And they are surprisingly easy to make! All it takes is a little instruction and the right materials.
Before getting started, some key tools you’ll need to have on hand are:
- Soap Molds – These come in either single bar sizes (often seen in wood) or in a large tray that looks like an oversized ice-cube tray.
- Gloves and Protective Eyewear – These are vital when handling Lye also known as Sodium Hydroxide. Keep in mind swimming goggles or sunglasses can do in a pinch.
- A stick or immersion blender –This is compact enough to be inserted directly into the container you are using and minimizes spatter however a hand mixer can also be used, in this case keep to a low setting.
- Stainless Steel Pot –As Lye can react with other materials, stainless steel is best. Choose a pot that is deep and not too wide.
- Cooking Thermometer –This will be used to determine the correct time to combine ingredients for best interaction.
There are a wide variety of soap molds available in specialty stores as well as online. In this example, we have used a 10” soap mold. The yield is approximately 2 lbs. of soap.
Many ingredients can be used to make soap. Chief among these are a base of butters or oils that remain solid at room temperature and essential oils.
Essentially, you can pick your favorite base and literally create a soap around that. You can even mix and match essential oils for custom natural fragrances. Or you can utilize the hundreds of soap recipes that already exist online to find something that will cater to your exact preferences. We’re certain that once you get started, you’ll have a blast experimenting and discovering your own favorites.
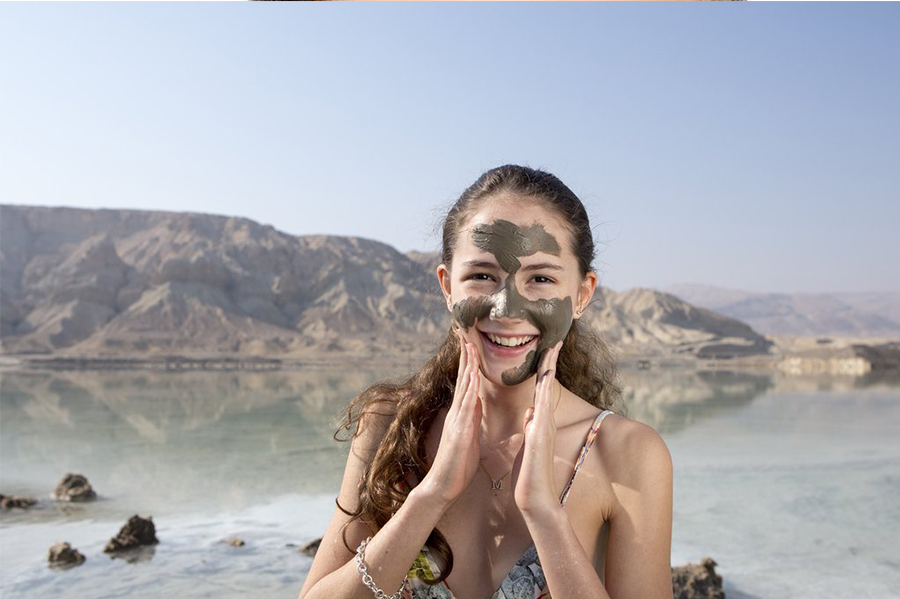
Recently, we wanted to make a soap using Dead Sea Mud because for sheer density of health giving nutrients and minerals to nourish the skin, nothing compares to the Dead Sea and Dead Sea Mud –where all that mineral-rich goodness leeches into.
Try this Recipe for Dead Sea Mud and Argan oil Facial bar. Ours came out great and we hope you like it too!
Ingredients:
- Coconut Oil – 9.5 oz.
- Mango Butter – 2.5 oz.
- Olive Oil – 12 oz.
- Avocado Oil – 5.5 oz.
- Argan Oil – 2 oz.
- Sodium Hydroxide or Lye – 4.5 oz.
- Distilled Water – 8-9 oz.
- Ylang Ylang – ½ oz
- Bergamot Essential Oil – 10 ml or 1/3 oz
- Lavender Essential Oil – 30 ml or 1 oz
- Chamomile Essential Oil – 5 ml or apprx 100 drops
- Dead Sea Mud – 2 tablespoons (you can add more or less)
Instructions:
- Wearing safety gear, measure out the lye and water into two separate containers. You will want the lye to be in a heat-resistant container to accommodate the chemical reaction that will take place. Next, slowly pour the lye into the water while stirring. Then place the container in a safe place and let cool while you prepare the oils.
- Measure out the hard oils/butters and combine into your stainless steel pot. Melt on low heat. Remove from heat when all is well combined.
- Add the liquid oils.
- Add essential oils and Dead Sea mud. Use your stick-blender to get rid of clumps if they occur. Be careful not to raise the blender up so that it would stir in air bubbles. You can leave it off as needed and use the stick to stir as well as blend.
- Once both the lye solution and oils have cooled to under 100° F, add the lye solution to the oils and mix using the stick blender for about 5 minutes. Be sure to wear protective gear at this point. Soon, the mixture will resemble the consistency of pancake batter and will start to coat the blender. This is a good time to stop.
- Pour the soap into your soap mold. A good trick is to line the soap mold with freezer paper or wax paper, wax side facing inward. This makes removal easier. Then place the mold in a cardboard box to keep it insulated. A shoebox works well. Adding a towel or blanket will further insulate the soap to ensure the full saponification process takes place.
- 24-48 hours later you can remove the soap from the mold and cut it into usable bars. You will then want to allow the soap to cure or age for at least 4 weeks. This allows the water to fully evaporate out of the soap and ensures the chemical reactions are fully completed for the best end product. Place the cut bars of soap back into the cardboard box during this period, with each bar standing on end.
Now all that’s left is to rinse, lather and enjoy.
Hand-made soaps are a unique and thoughtful gift you’ll want to share with others too. Be sure to let them in on your creativity and have fun!
Related post
14
Sep
21
Aug
08
Jun
26
Feb
11
Feb